Whether you're changing a tire, repairing a CV axle, servicing suspension components, or handling an unexpected trail repair, knowing where to safely lift your Can-Am X3 can make the job faster, safer, and easier.
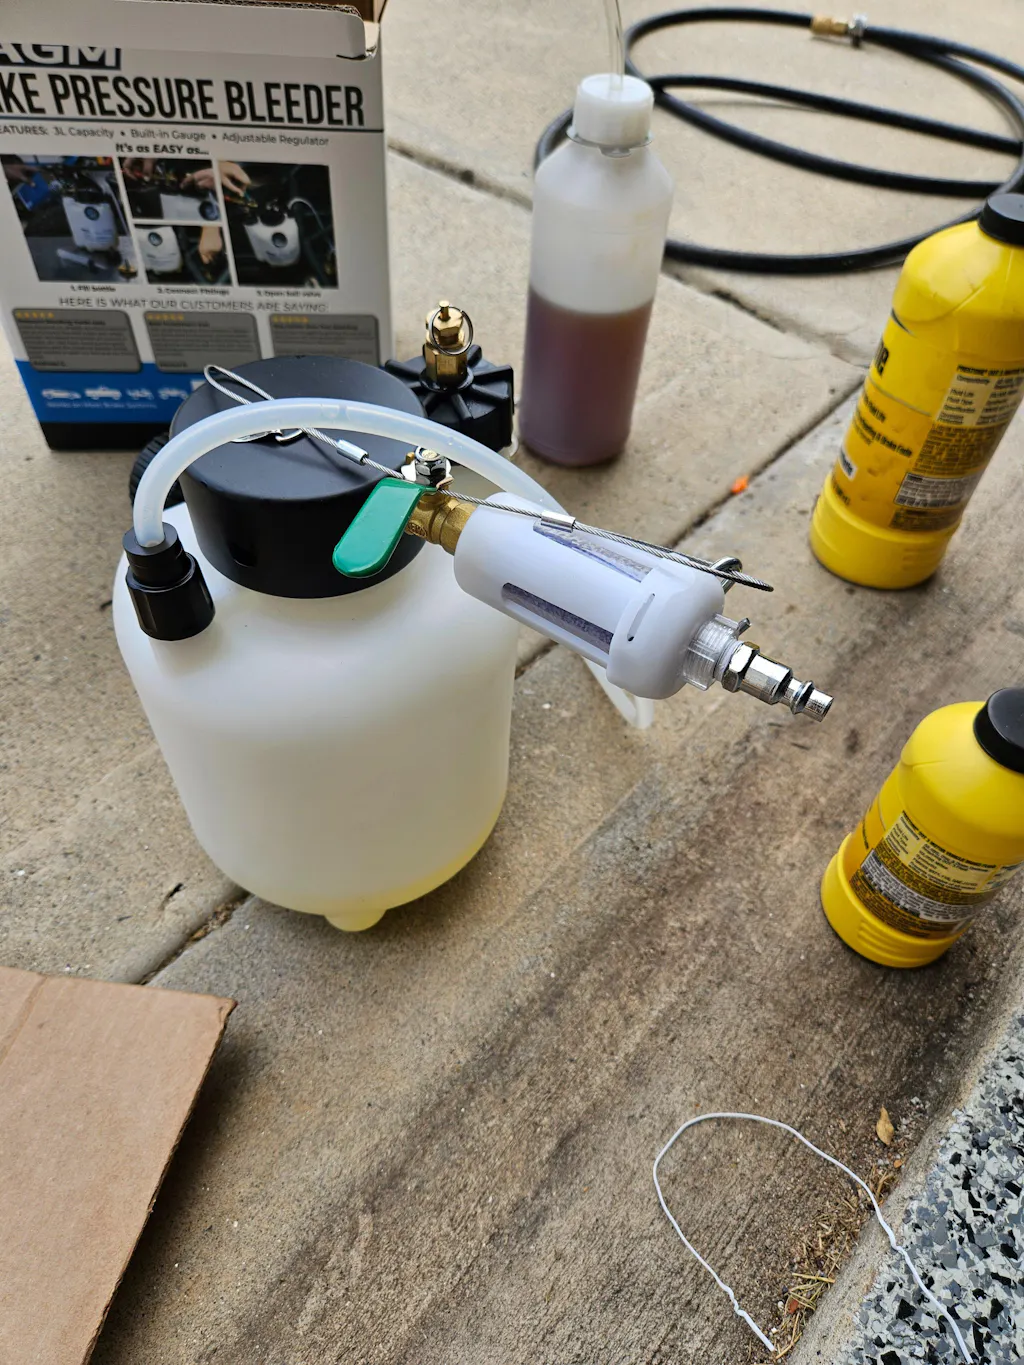
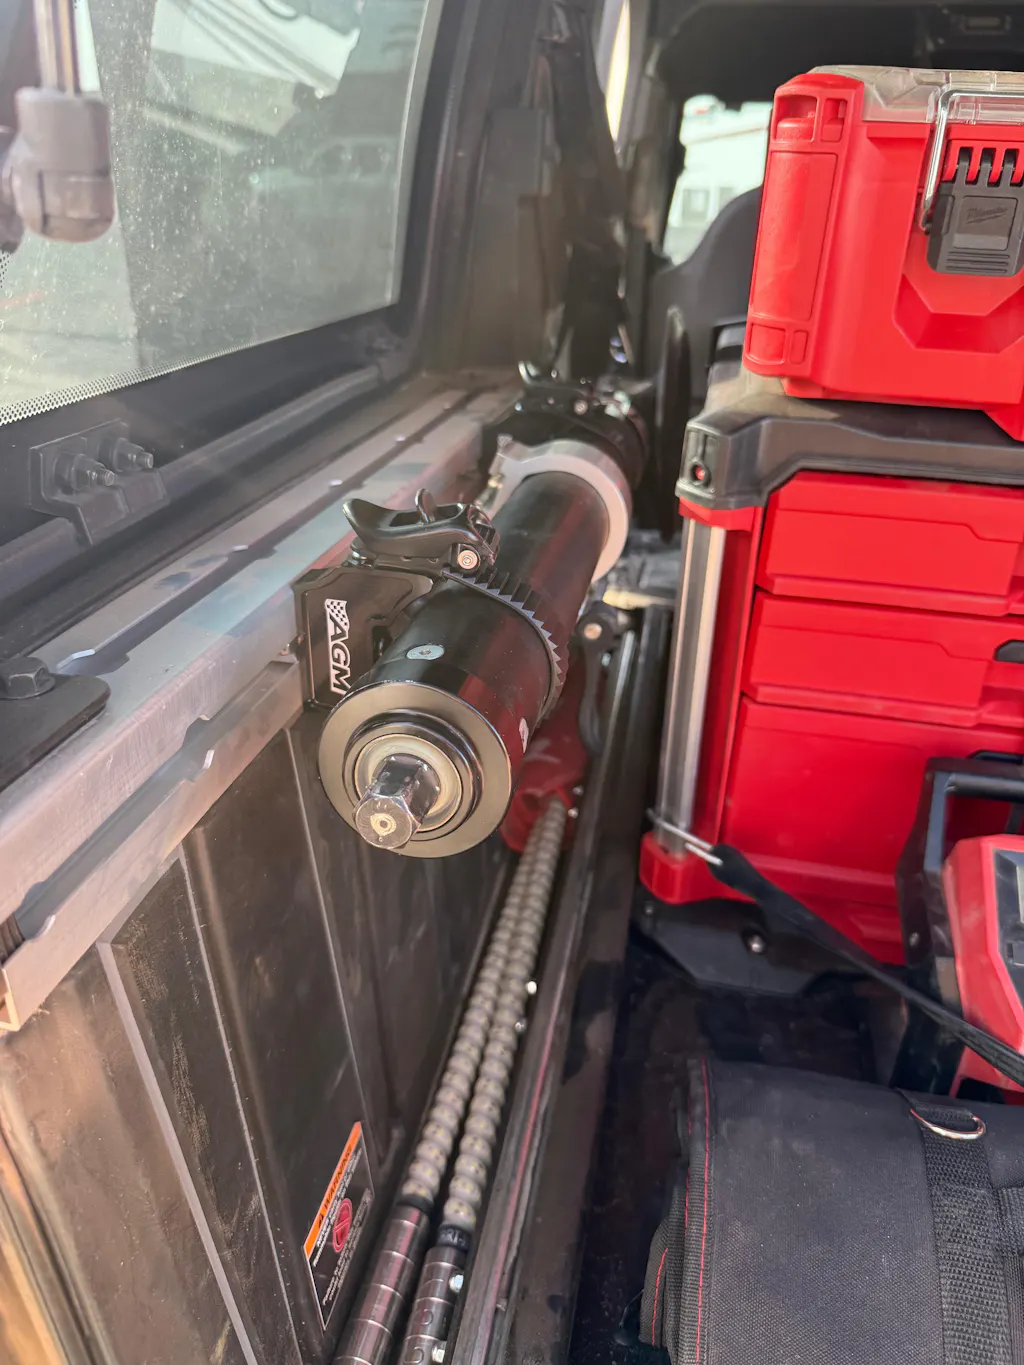
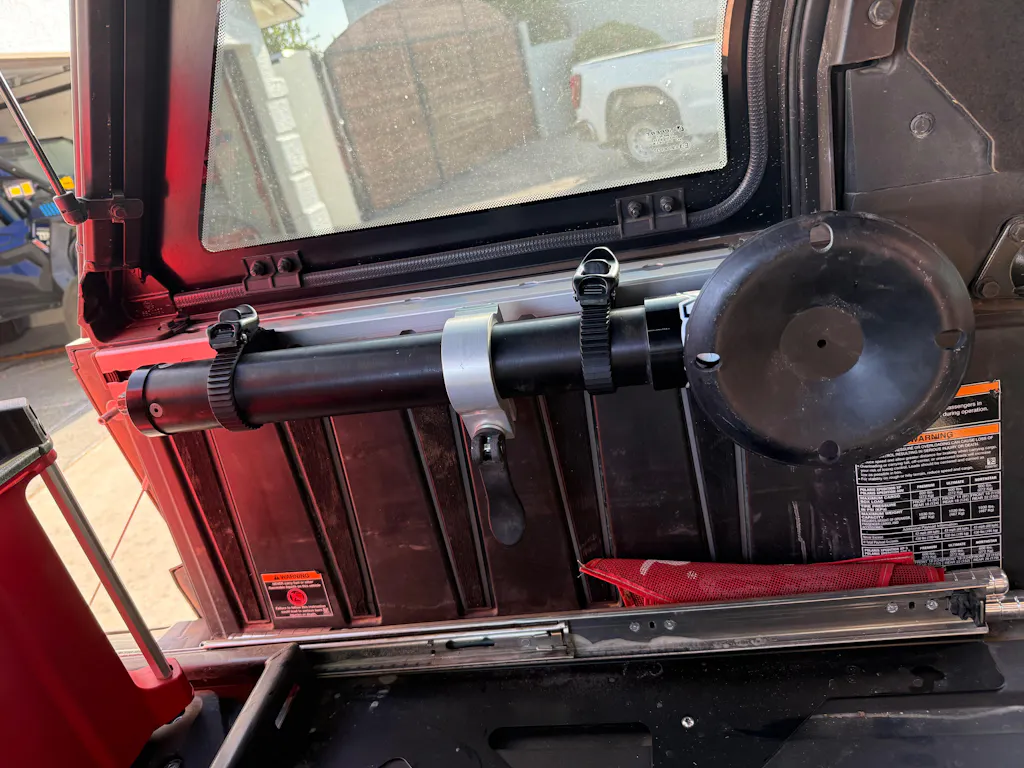
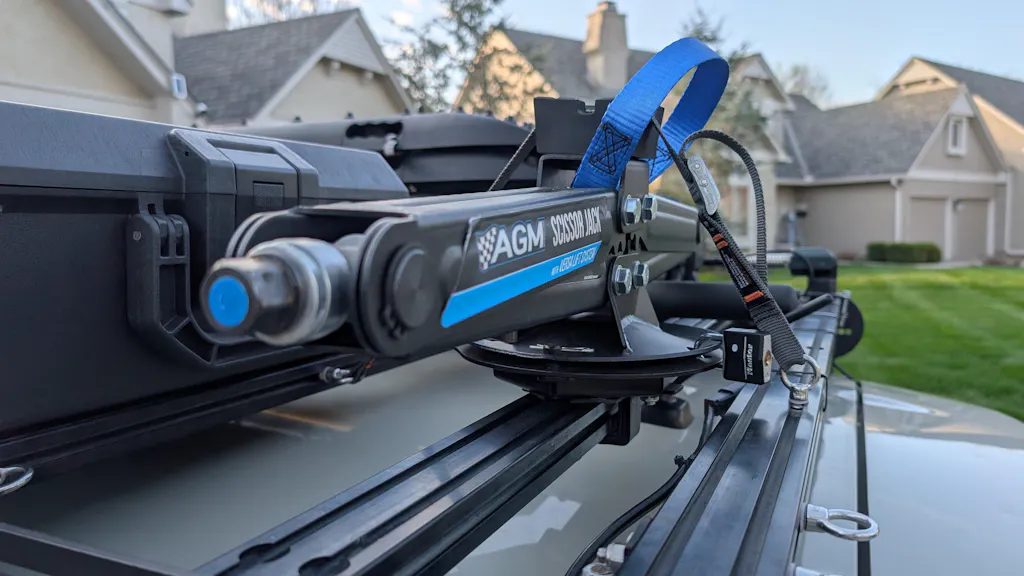
The AGM Electric Jack PRO was designed specifically for off-road vehicles and provides fast, powered lifting for long-travel suspension platforms like the Can-Am X3. In this guide, we'll show you the preferred lift points, alternate lift points, and practical trail-side tips that can help you get back on the trail quickly.
Before You Lift
Before beginning any repair:
-
Move the vehicle off the trail whenever possible.
-
Park on flat, stable ground.
-
Place the vehicle in park.
-
Use four-wheel drive if needed to help prevent vehicle movement.
-
Chock a tire using rocks, wood, or other available materials.
A stable vehicle is safer to work on and helps prevent unwanted movement while lifting.
Rear Lift Points
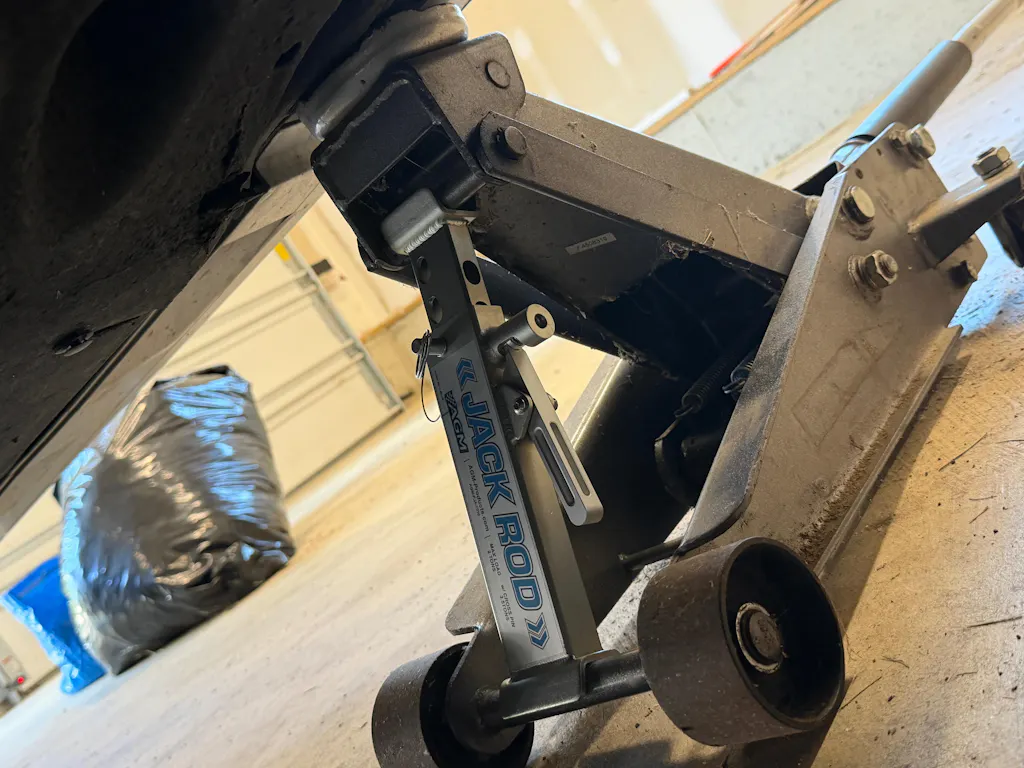
Primary Rear Lift Point - Trailing Arm
Our preferred rear lift point on the Can-Am X3 is the trailing arm.
Lifting from the trailing arm allows you to raise the wheel directly instead of lifting through the full suspension travel. This gets the tire off the ground faster and makes repairs easier.
When positioning the jack:
-
Place the lifting pad beneath the trailing arm.
-
Position the bottom of the jack slightly further under the load than the top of the jack.
-
Create two points of contact:
-
The lifting pad against the trailing arm.
-
The jack body against the spring.
-
-
Verify the jack is stable before lifting.
Starting with the lifting pad directly under the load allows the jack to become more vertical as the suspension moves through its arc.
Your tire is in the air and you're ready for the repair.

Alternate Lift Point - Lower Chassis Tube
If you cannot access the trailing arm, the side chassis tube provides another excellent lifting location.
You can locate this lift point by finding the row of rivets underneath the rocker panel. These rivets secure body panels to a chassis tube that runs the length of the vehicle.
When positioning the jack:
-
Ensure the lifting pad is fully underneath the chassis tube.
-
Position the bottom of the jack slightly under the load.
-
Allow the jack to start with a slight outward lean.
-
Create two points of contact:
-
The lifting pad against the chassis tube.
-
The jack body against the vehicle structure.
-
As the vehicle lifts and pivots away from the jack, the jack will move toward a more vertical position, creating a stable lifting arrangement.
Your tire is in the air and you're ready for the repair.

Uneven Ground Tip
Rotate The Collar 90 Degrees
Sometimes trail conditions create uneven loading on the jack.
If the jack begins to pivot sideways or the ground is softer on one side than the other:
-
Lower the vehicle.
-
Rotate the collar 90 degrees.
-
Reposition the jack.
-
Lift again.
Changing the collar orientation changes the direction the jack can pivot, helping prevent the jack from walking sideways on uneven terrain.
This simple adjustment can dramatically improve stability in loose dirt, sand, or uneven ground conditions.

Front Lift Points
Front Lift Point - Upper Control Arm
For front repairs, our preferred lift point is the upper control arm.
Locate the flatter section of the arm just below the shock mount. This section is closest to parallel with the ground and provides the most stable lifting surface.
When positioning the jack:
-
Place the lifting pad beneath the flat section of the upper control arm.
-
Point the lifting pad directly into the arm.
-
Create two points of contact.
-
Keep the jack clear of the tire if the repair involves wheel removal.
This allows the suspension to lift efficiently while maintaining stability.
Your tire is in the air and you're ready for the repair.

Why Suspension Lift Points Work So Well On The X3
Unlike utility-focused side-by-sides, the Can-Am X3 uses long-travel suspension.
Lifting directly from the suspension provides several advantages:
-
Gets the tire off the ground faster.
-
Requires less overall lift height.
-
Reduces the amount of suspension travel that must be overcome.
-
Makes trail-side tire changes quicker.
For this reason, the trailing arm and upper control arm remain our preferred lift points on the X3.
Trail-Side Repair Tips
Break Lug Nuts Loose Before Lifting
If you're using hand tools:
-
Loosen the lug nuts before lifting.
-
Use the vehicle's weight to prevent wheel rotation.
-
Avoid loading the drivetrain while removing fasteners.
This makes wheel removal easier and faster.
Keep Hardware Clean
Try to catch lug nuts and fasteners during removal.
Keeping dirt and sand out of the threads helps prevent:
-
Damaged studs
-
Damaged lug nuts
-
Thread galling
-
Unnecessary repairs
If a lug nut falls into the dirt:
-
Knock out debris.
-
Blow out the threads.
-
Inspect before reinstalling.
Start Lug Nuts By Hand
Always start lug nuts by hand before using an impact gun.
This helps:
-
Prevent cross-threading
-
Protect wheel studs
-
Ensure proper thread engagement
A few extra seconds now can prevent a much bigger repair later.
Tighten Lug Nuts In A Star Pattern
Always tighten lug nuts in a star pattern.
This helps:
-
Pull the wheel evenly against the hub or rotor.
-
Prevent uneven wheel seating.
-
Reduce the chance of wheel movement after installation.
If available, lower the tire until it lightly contacts the ground and torque the lug nuts to the manufacturer's specifications.
Trail Safety Tips
Move To A Safe Work Area
If the vehicle is still driveable:
-
Move off the trail.
-
Park on flat, stable ground.
-
Avoid blocking other trail users.
A safer work area makes repairs easier and helps reduce risk.
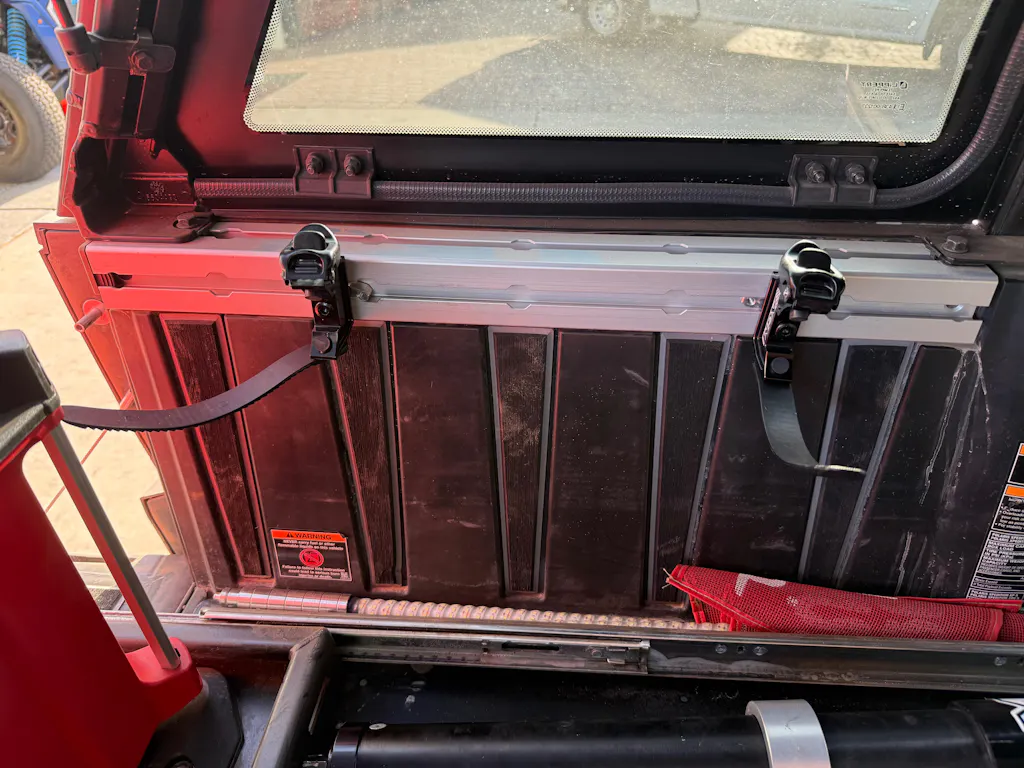
Create A Secondary Support Point
If any part of your body may be underneath the vehicle, or if you may need to climb back into the vehicle while it is lifted, use a backup support.
Examples include:
-
Hard-shell cooler
-
Toolbox
-
Spare tire
-
Large rock
-
Log
The goal is simple: if the vehicle moves off the jack, something else is there to catch it.
Can-Am X3 Lift Guide FAQs
Where should I lift a Can-Am X3 with an Electric Jack PRO?
For most repairs, we recommend lifting from the trailing arm in the rear and the upper control arm in the front.
Why is the trailing arm the preferred rear lift point?
The trailing arm lifts the wheel directly and avoids lifting through the full suspension travel, helping get the tire off the ground faster.
Where is the best front lift point on a Can-Am X3?
The flat section of the upper control arm just below the shock mount provides the most stable front lifting location.
Can I lift a Can-Am X3 from the side of the chassis?
Yes. The side chassis tube provides an excellent alternate lift point when suspension lift points are unavailable.
What should I do if the jack starts to walk sideways?
Lower the vehicle, rotate the collar 90 degrees, reposition the jack, and lift again. This changes the pivot direction and can improve stability on uneven terrain.
Why are suspension lift points preferred on the X3?
Because the X3 has long-travel suspension, lifting directly from suspension components gets the tire off the ground faster and requires less overall lift height.
Related Can-Am X3 Resources
Lift Point Guides
Additional Lift Guides
Recommended Products
Premium Off-Road Jacks That Make Recovery Safe and Simple
The AGM Electric Jack PRO was built to help X3 owners handle trail-side repairs quickly and confidently. With powered lifting, multiple lift point options, and trail-proven durability, it helps turn unexpected repairs into manageable trail-side fixes.
Because how you lift it matters.