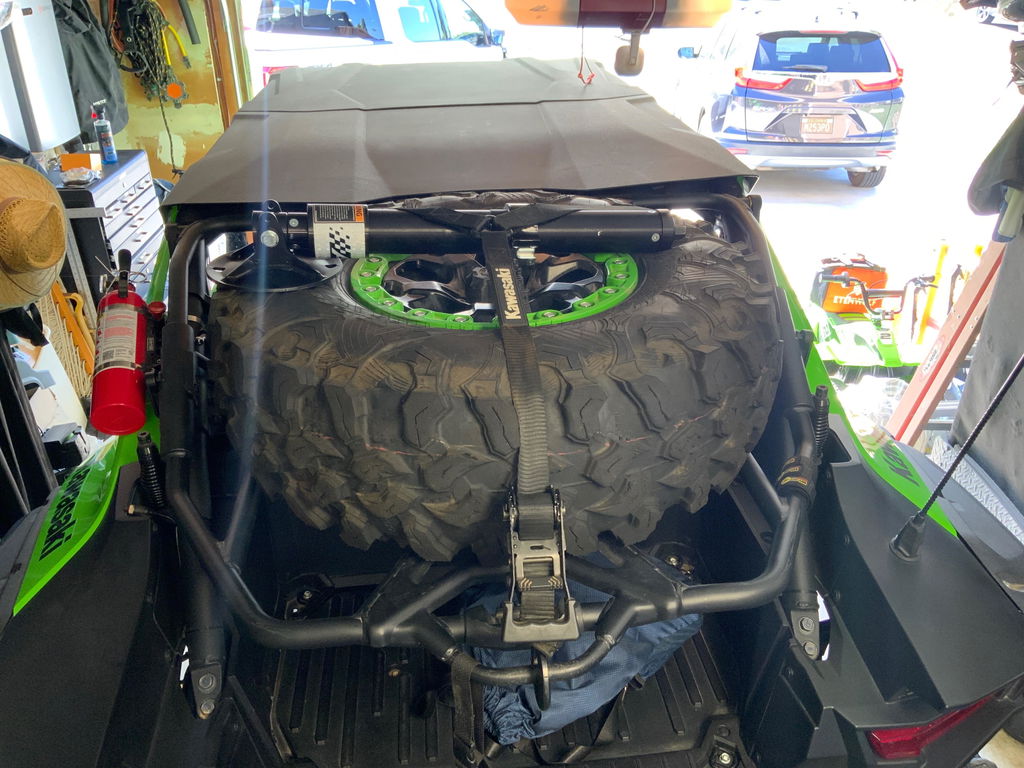
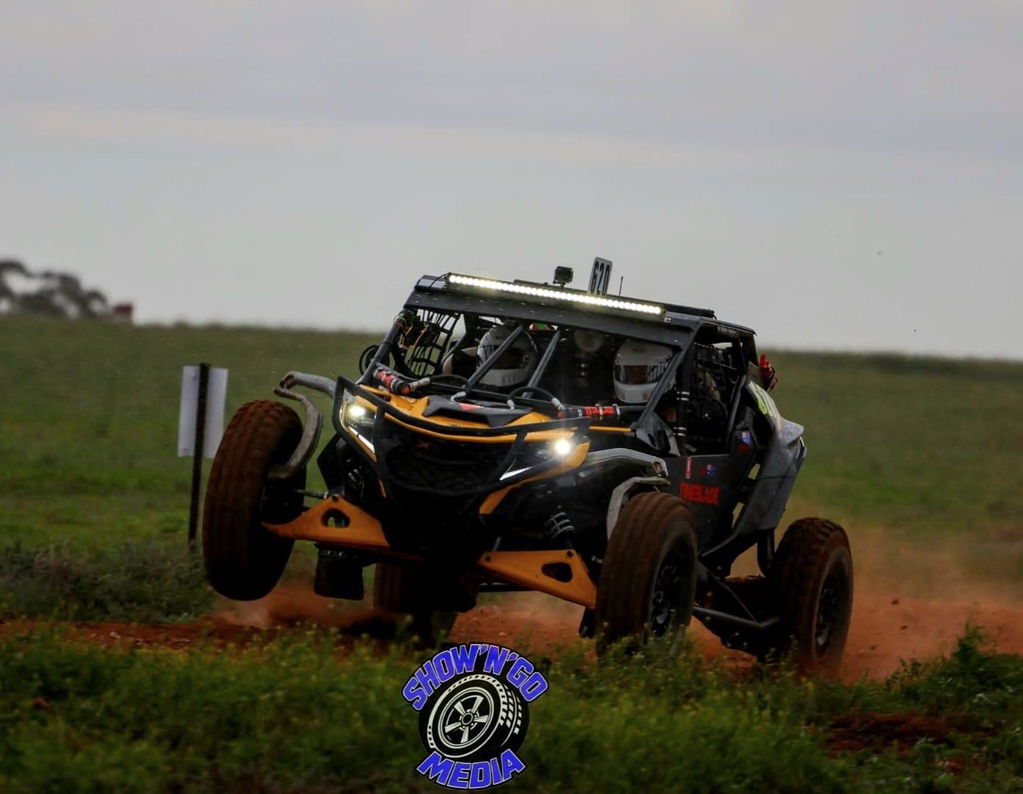
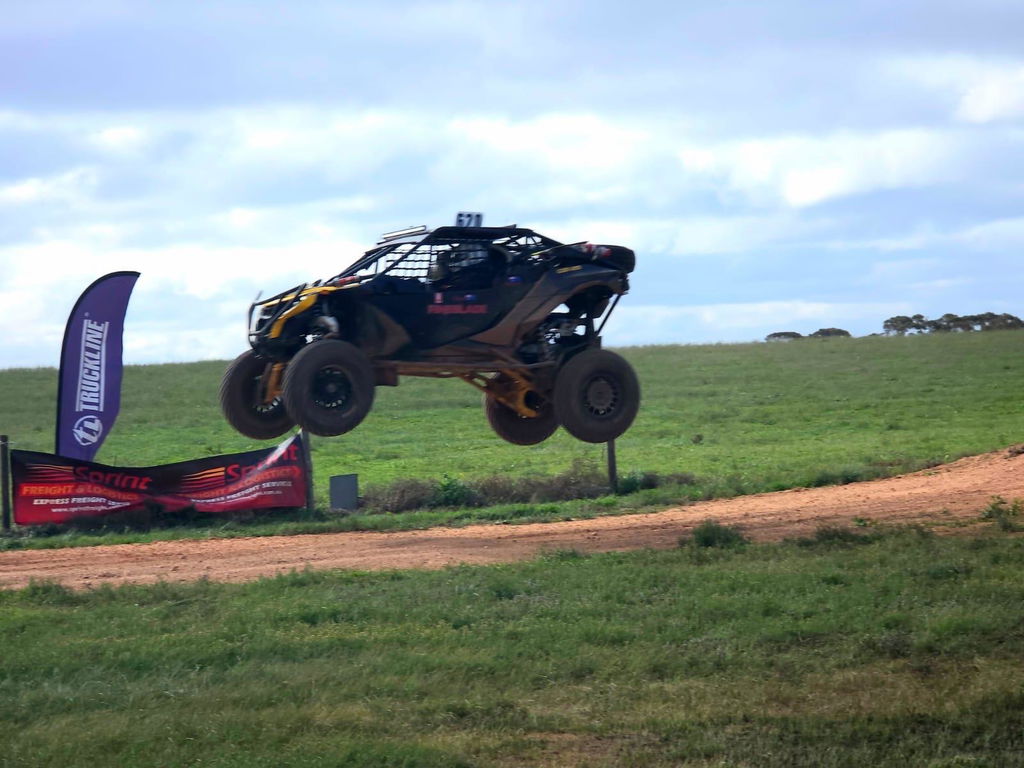
Kawasaki KRX H2 Vehicle Lift Guide
Safely lift your Kawasaki KRX H2 using the AGM Scissor Jack. Tested on a real vehicle during real trail repairs.
Estimated Read Time: 1–2 Minutes
Quick Answers
★★★★★ Preferred Front Lift: Front chassis tube running toward the suspension
★★★★★ Preferred Rear Lift: Rear chassis tube near the trailing arm mount
★★★★☆ Alternate Front: Front skid plate crossmember
★★★★☆ Alternate Rear: Lower shock mount bracket
★★☆☆☆ Alternate Rear: Rear skid plate crossmember
Avoid: Unsupported skid plates, steep suspension angles, unstable ground, running the jack into the travel stop.
You're in the Right Place If...
• You have a flat tire on a Kawasaki KRX H2.
• You want the safest lift points.
• You're using an AGM Scissor Jack.
• You want to avoid damaging your vehicle.
• You want to get back on the trail quickly.
Flat Tire Repair
• If using hand tools, loosen the lug nuts before lifting.
• Lift from the preferred lift point.
• Place a cooler, toolbox, spare tire, or similar size solid object under the vehicle as a secondary support.
• Remove the lug nuts, catching each one if possible.
• If a lug nut falls into dirt or sand, clean it before reinstalling so threads are not damaged.
• Install the replacement wheel.
• Start every lug nut by hand.
• Tighten in a star pattern.
• Torque to Kawasaki specifications whenever possible. If a torque wrench is not available, tighten with an impact gun to get you home.
Preferred Front Lift

Lift Here
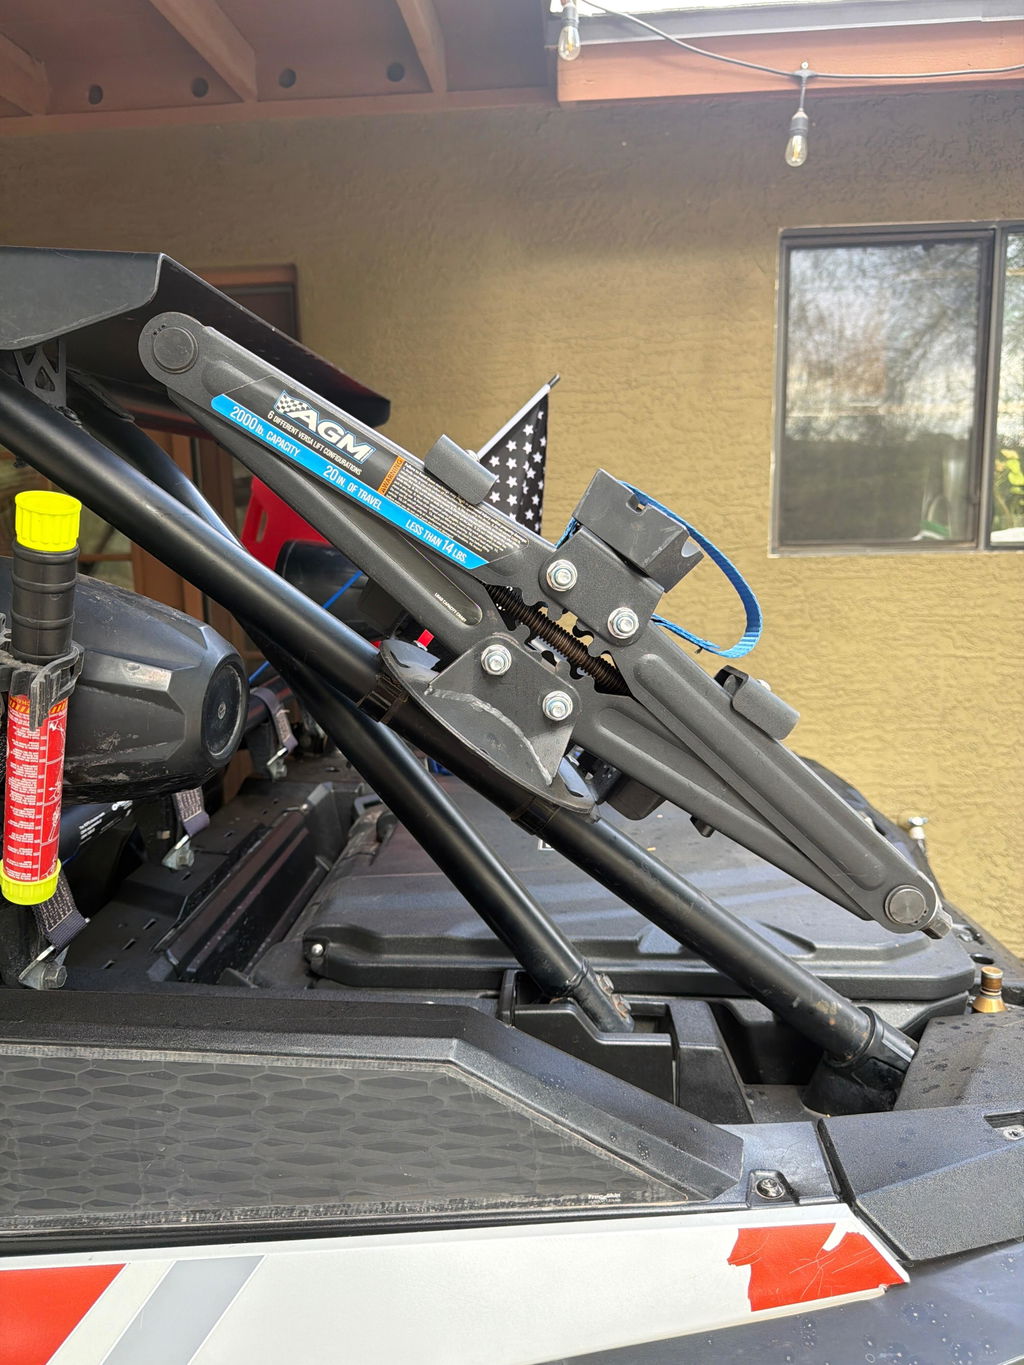
Front chassis tube running toward the front suspension.
Why
• Preferred front lift point for the AGM Scissor Jack.
• Keeps the jack aligned with the chassis.
• More stable than angled control arms.
• Helps the jack lift straight up and down.
Watch Out
• Rotate the lift head so the tube sits in the channel.
• Position the lifting pad directly beneath the chassis tube.
• Confirm the jack is sitting flat before lifting.
Trail Tip
Use the lift head channel to help keep the chassis tube centered during the lift.
Alternate Front Lift

Lift Here
Front skid plate crossmember.
Why
• Useful when the front chassis tube is not accessible.
• Supported crossmembers provide alternate lift points.
• Can be used near the front or rear lower arm mounts.
Watch Out
• Position the jack where a chassis crossmember is located.
• Do not lift from unsupported skid material.
• Verify the jack is stable before continuing the lift.
Trail Tip
If you are lifting from a skid plate area, make sure there is a chassis tube or crossmember directly above the lifting pad.
Preferred Rear Lift

Lift Here
Rear chassis tube near the rear trailing arm mount.
Why
• Preferred rear lift point for the AGM Scissor Jack.
• Strong structural lifting location.
• Keeps the jack more stable than steep suspension angles.
• Provides a predictable lifting platform.
Watch Out
• Follow the trailing arm forward toward the mounting area.
• Position the jack just inside the trailing arm mount.
• Place the lifting pad beneath the flat section of the chassis tube.
Trail Tip
Center the lifting pad on the flat section of the chassis tube before raising the vehicle.
Alternate Rear Lift
Lift Here
Lower shock mount bracket.
Why
• Useful when access to the rear chassis tube is limited.
• Provides another rear lifting option.
• The Scissor Jack channel can cradle the bracket.
Watch Out
• Position the lift head so the channel cradles the bracket.
• Confirm the lift head is centered and secure.
• Make sure the jack remains stable before continuing the lift.
Trail Tip
Use this lift point only when the bracket is securely centered in the Scissor Jack channel.
Alternate Rear Lift
Lift Here
Rear skid plate crossmember.
Why
• Useful when other rear lift points are not accessible.
• Can be used when positioned beneath a supported structure.
• Provides another backup rear lifting option.
Watch Out
• Metal skid plates can be slippery.
• Confirm the lifting pad is centered under a chassis tube or crossmember.
• Choose a different lift point if the connection does not feel secure.
Trail Tip
Before starting the repair, verify the vehicle is not shifting on the lift point.
Watch Your Jack Travel
Lift Here
Use the same lift point, but monitor the Scissor Jack travel stop.
Why
• The KRX H2 is a longer-travel sport SXS.
• Some lift points may use more jack travel.
• Stopping short helps reduce unnecessary wear.
Watch Out
• Watch the jack travel stop as you lift.
• Stop before the travel stop contacts the cross pin.
• Avoid running the jack into the stop with an impact.
Trail Tip
If you need more height, dig out from under the tire instead of forcing the jack into the travel stop.
Common Mistakes
• Lifting from unsupported skid plate areas.
• Using steep suspension angles as primary Scissor Jack lift points.
• Running the jack into the travel stop with an impact.
• Removing the wheel before confirming the vehicle is stable.
• Starting lug nuts with an impact.
• Crawling under a vehicle supported only by a jack.
Trail Safety Checklist
✓ Move off the trail whenever possible.
✓ Park on level ground.
✓ Vehicle in Park.
✓ Four-wheel drive engaged if needed.
✓ Chock a tire if necessary.
✓ Use a secondary support before putting any part of your body underneath the vehicle.
Questions We Hear Most
Where should I lift a Kawasaki KRX H2 with a Scissor Jack?
For most repairs, lift from the front and rear chassis tubes. These provide a more stable lift point than angled suspension components.
Can I lift a Kawasaki KRX H2 from the skid plate?
Yes, but only where the skid plate is supported by a chassis crossmember or tube. Avoid unsupported skid plate areas.
What is the best front lift point on a Kawasaki KRX H2 with a Scissor Jack?
The front chassis tube running toward the suspension is the preferred front lift point.
What is the best rear lift point on a Kawasaki KRX H2 with a Scissor Jack?
The rear chassis tube near the trailing arm mount is the preferred rear lift point. The lower shock mount bracket can also be used as an alternate.
Why should I watch the travel stop on the Scissor Jack?
Longer-travel vehicles can use more jack travel. Stop before the travel stop contacts the cross pin to reduce unnecessary wear.
How do I safely lift a Kawasaki KRX H2 on the trail?
Move to flat ground whenever possible, place the vehicle in Park, chock a tire, and use a secondary support if you may need to work underneath the vehicle.
Continue Learning
Watch
▶ Watch the Kawasaki KRX H2 Lift Video
Explore Other Lift Guides
Manual Jack PRO Vehicle Lift Guide
Electric Jack PRO Vehicle Lift Guide
Manual Jack Sport Vehicle Lift Guide
AGM Jacks For This Vehicle
Learn More
Choosing the Right AGM Trail Jack (Coming Soon)
Premium Off-Road Jacks That Make Recovery Safe and Simple.
Because how you lift it matters.